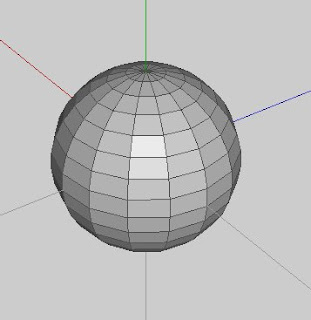
First start with an object that terminates with a pole on each end. Yeah, it's called "spherical" mapping, but it should work with anything that has poles on the ends. (But a sphere is typically the most obvious thing that terminates in poles on both ends when it comes to polygonal 3D modeling.)
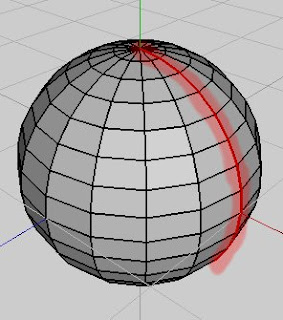 Select the sphere in object mode, then click UV Mapping. You should get a segmenting mode window. For spherical mapping to work, just select a single line of edges that terminates at both poles. Mark these edges for cut in the segmenting window.
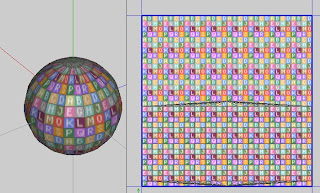 Right click, and pick continue. For mapping, pick spherical. You should get something like this. If you don't mind extreme pinching at the poles in the your map, you could finish it like this. I'll show you how to relax the pinching by a bit. (Although not perfect, it's better than none.)
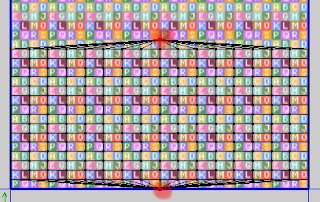 Select the pole vertices in the chart like so.
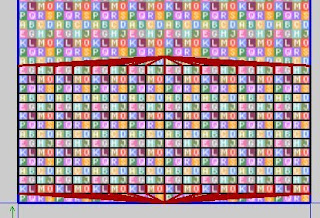 Then switch to edge mode. It will automatically select the edges that are connected to the vertices you had selected in the previous step. Hit alt-L to extend the edge selection by one segment for all selected edges.
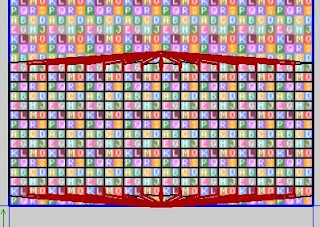 Then right click and pick cut. You should notice some slight spacing between the edges you had selected.
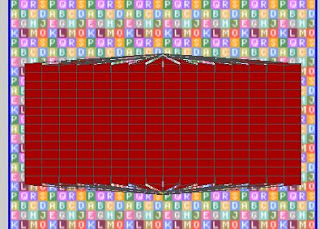 Select the whole chart in object mode, move to center, and scale to 90%. This will give a little room to work with around the map.
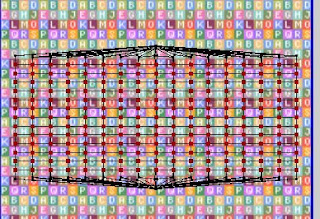 Select all the vertices as seen in the pic. Notice how the verices that are along the edges that were cut apart earlier are not selected.
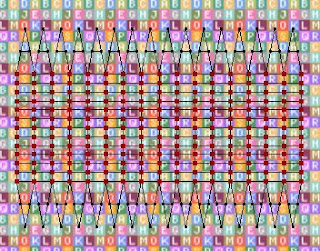 Now without deselecting those vertices, chose unfold from the right-click menu. If you did it right, you should have something like the above pic. It's actually not too different from Mercator (I believe that's the method) mapping of a globe. By no means perfect, but it relaxes some of the distortion going to the poles.
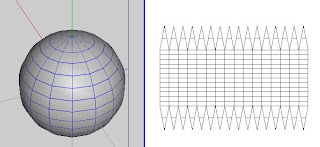 When done creating the texture, you should have something like the above pic. Now that wasn't too hard, was it? Easy peasy really.
No comments:
Post a Comment